How I Use Midjourney to Create Featured Images for Articles
Generating unique and interesting featured images, you only need a Discord account and a little patience. Here’s how I use the tool.

Generative AI is all the rage right now. There’s a lot of debate over how, when, and if the tools should be used. I’m not inherently against the tools. If people choose to use them, I believe that generative AI should always be cited.
While I’ve only published one article using a language learning model, I use Midjourney to generate all of my featured images. It adds a unique look compared to the dozens of overused stock photos plaguing the internet.
My Writing Community, a perk of subscribing to This Week In Writing, has a #midjourney channel. Over the weekend, I generated this week’s featured imagelive, with detailed explanations for the community. I captured that explanation here to walk you through my process.
Initial Prompt
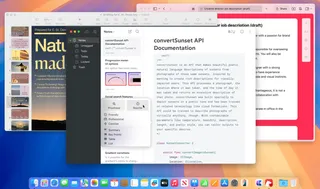
To start generating an image, type /imagine and then whatever you want to create. If you’ve never used Midjourney, you’ll be prompted to create an account. This is separate from My Writing Community.
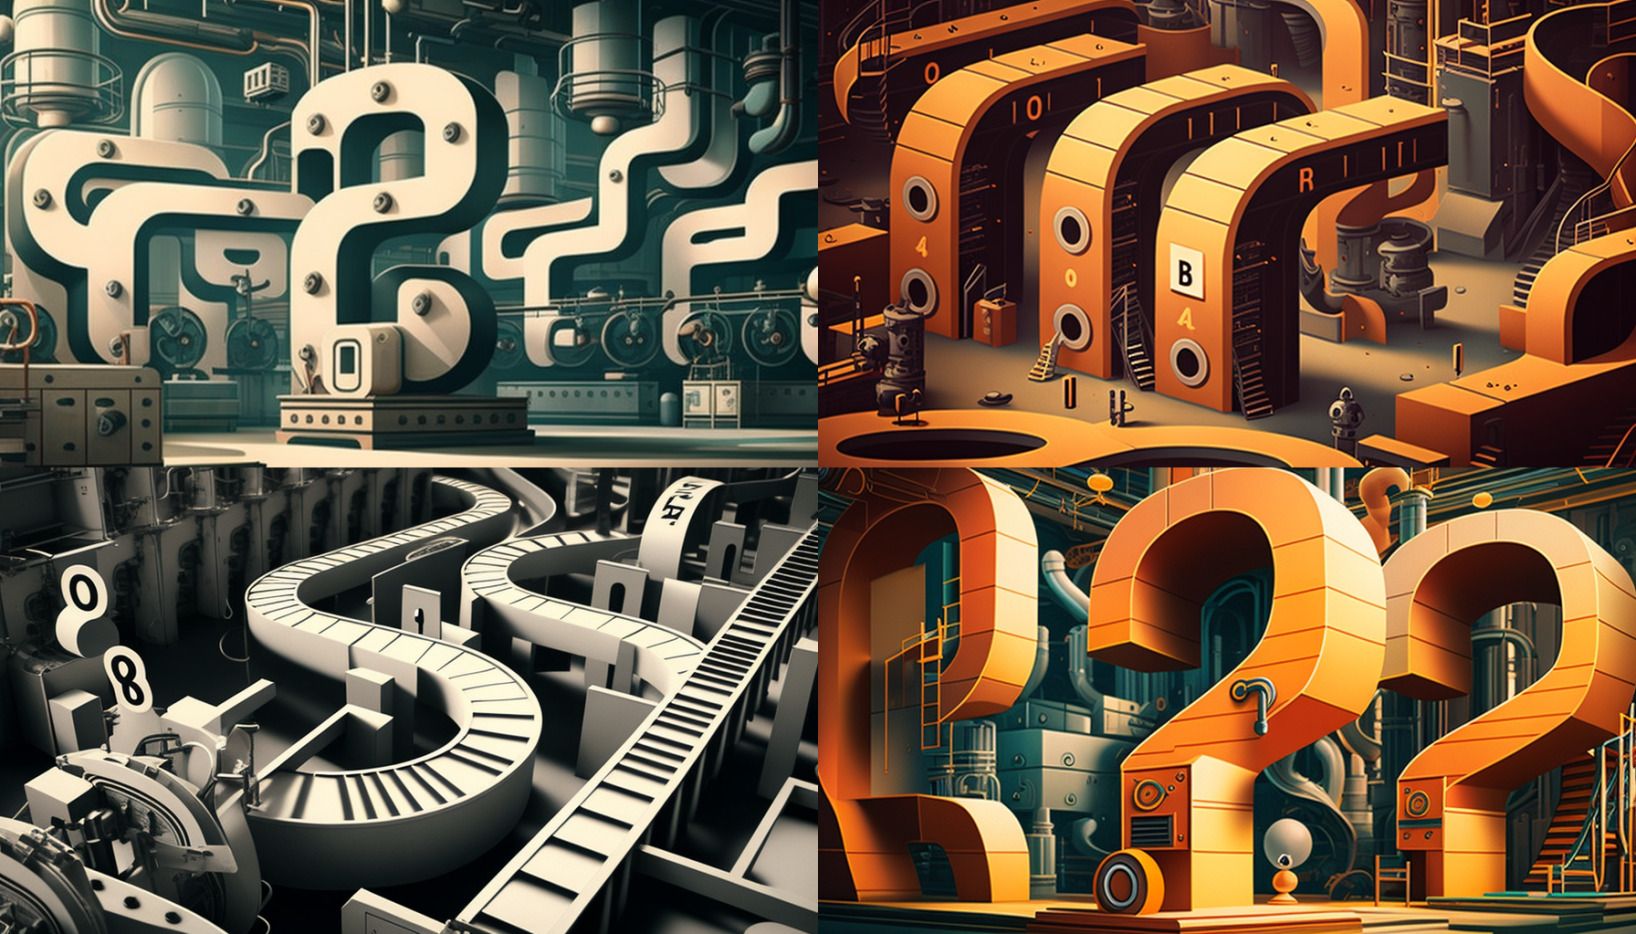
This week’s newsletter is about answering user questions, so I want to create something along those lines. The prompt I’m going to use is: /imagine a retro-futuristic factory assembling question marks --ar 16:9. This will tell Midjourney to create something based on that text prompt. The --ar 16:9 tells Midjourney to format the picture in that aspect ratio. If not specified, Midjourney defaults to square.
Ok, let’s see what happens!
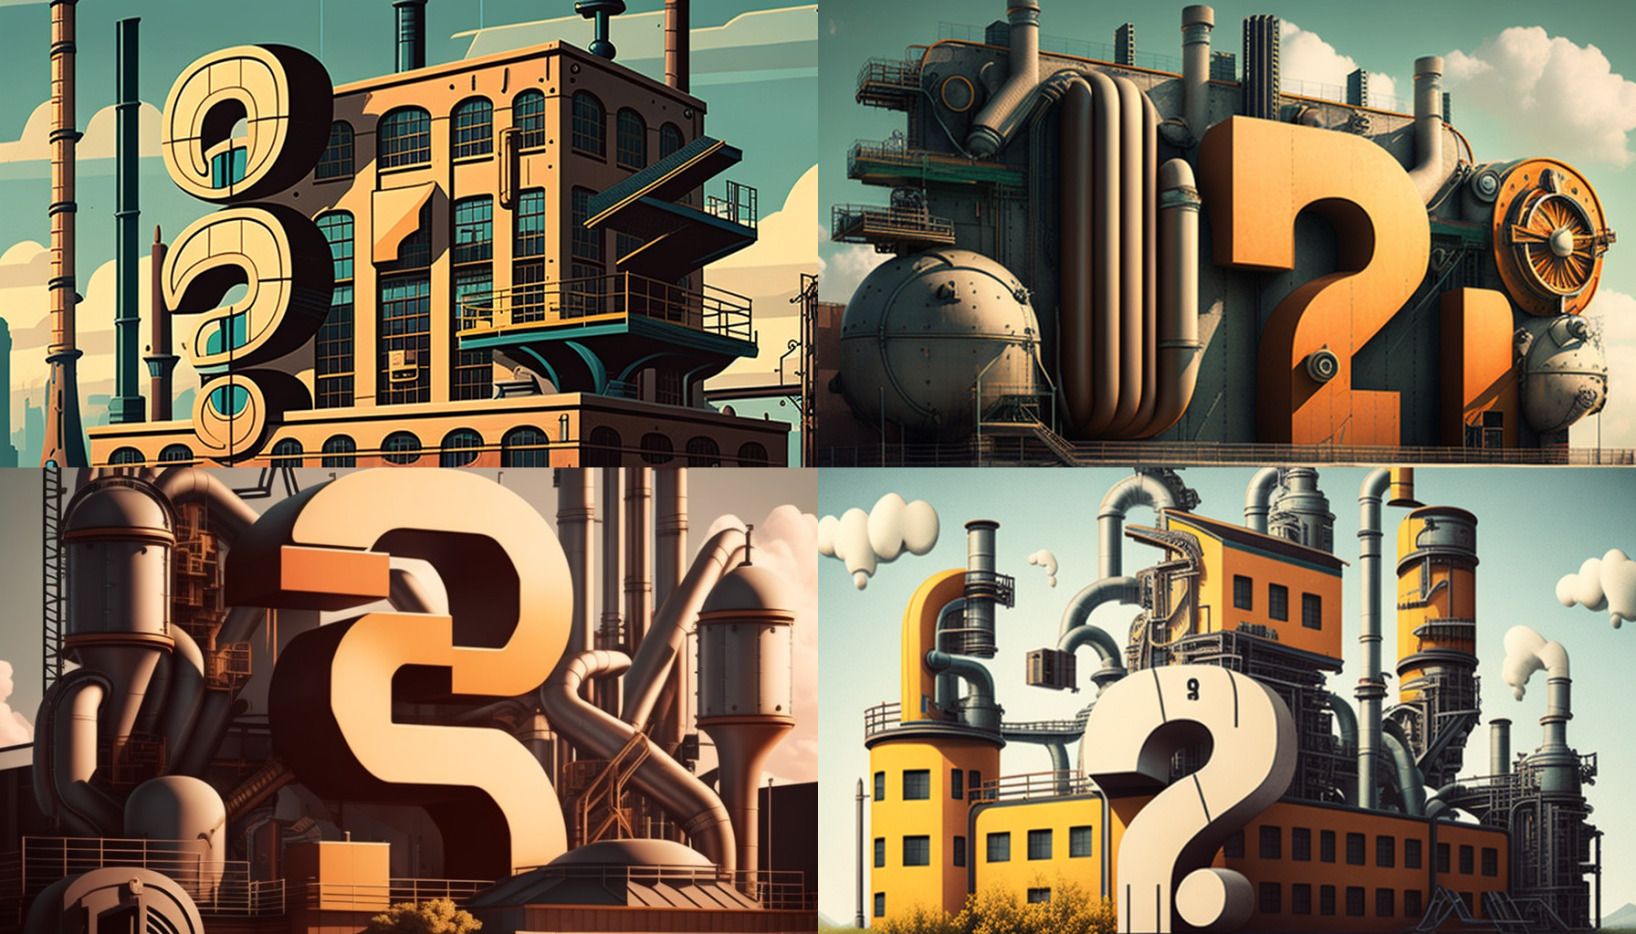
These aren’t quite what I have in mind for the image. I need to give Midjourney some more clarification and specific direction. This time, I’ll try /imagine a retro-futuristic assembly line building question marks --ar 16:9.
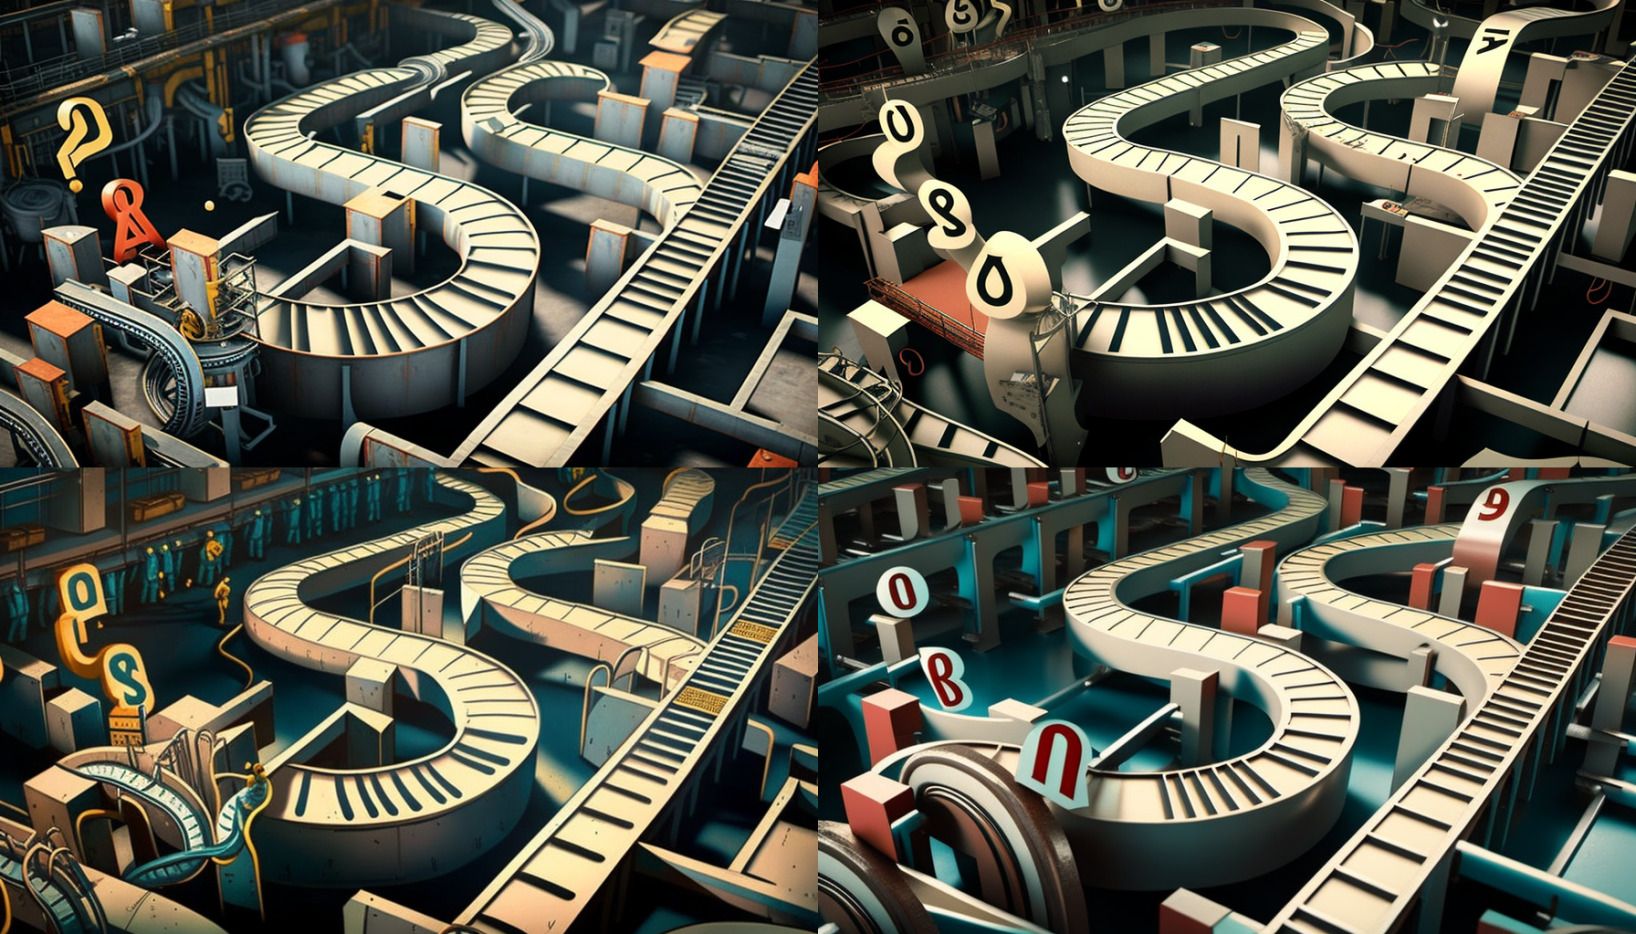
It seems like the word building is throwing things off here. So, this time, I’m going to try /imagine a retro-futuristic assembly line constructing question marks --ar 16:9.
Refinement
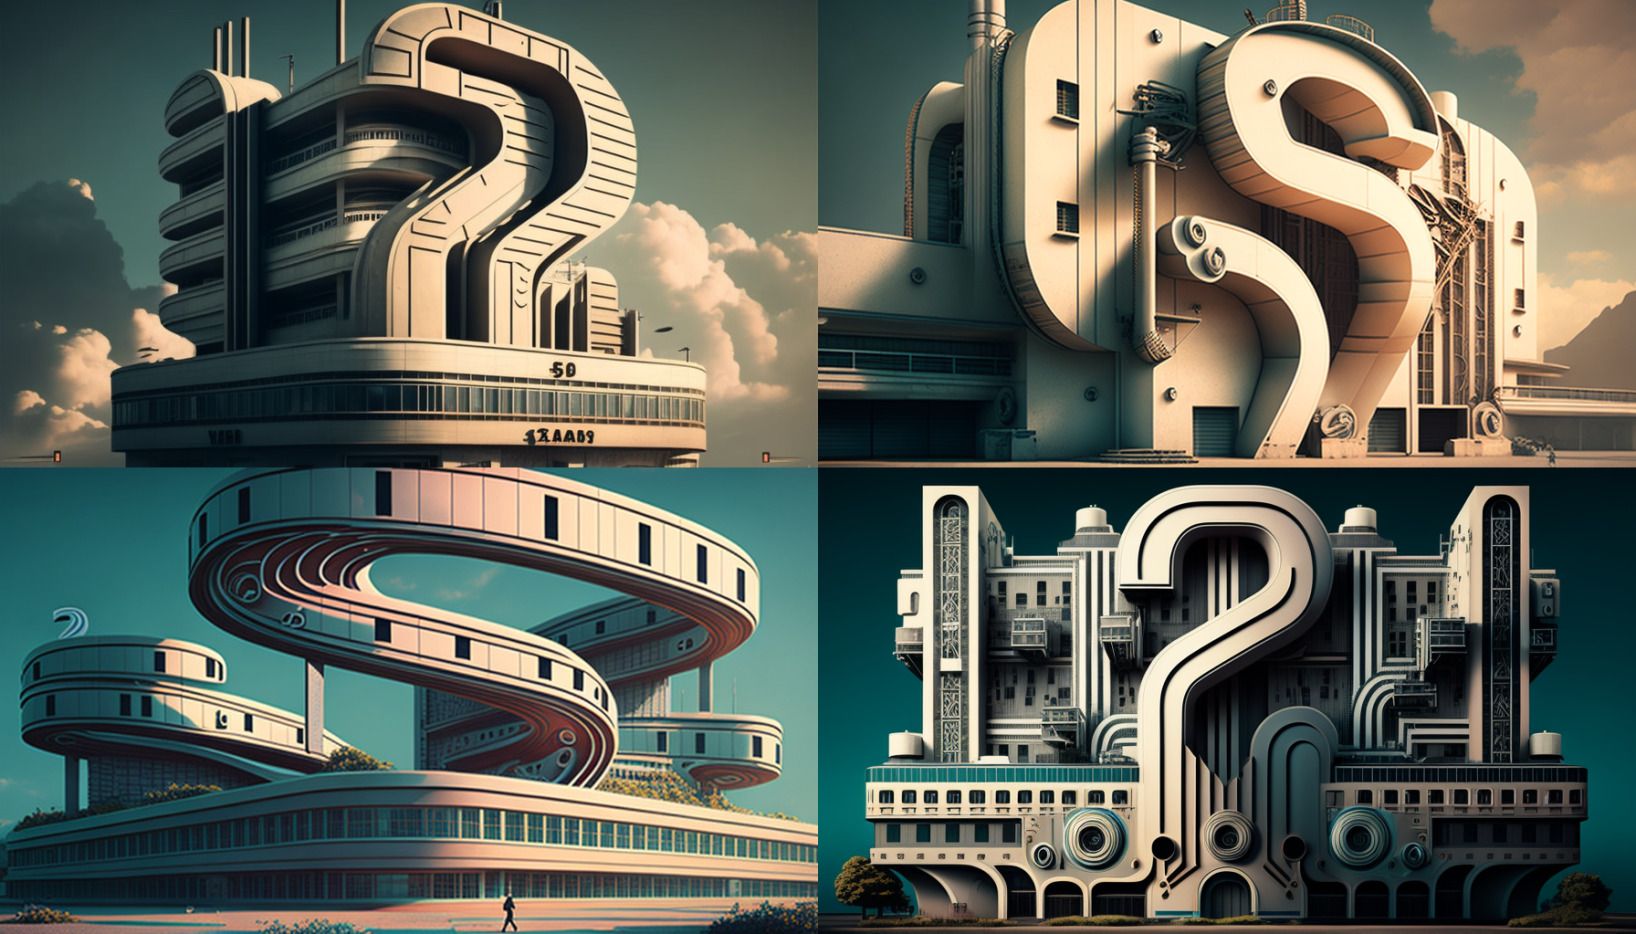
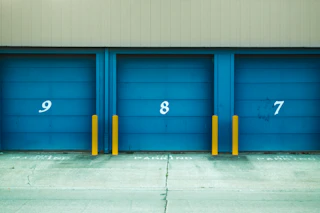
The third image (bottom-left) is similar to what I had in mind, but there aren’t any question marks on the belts. So, I’m going to hit the V3 button to create variations on this image. The V buttons bring the entire prompt back up and allow you to tweak it. I’m going to amend it to /imagine a retro-futuristic assembly line constructing question marks, question marks are on the conveyor belts --ar 16:9.
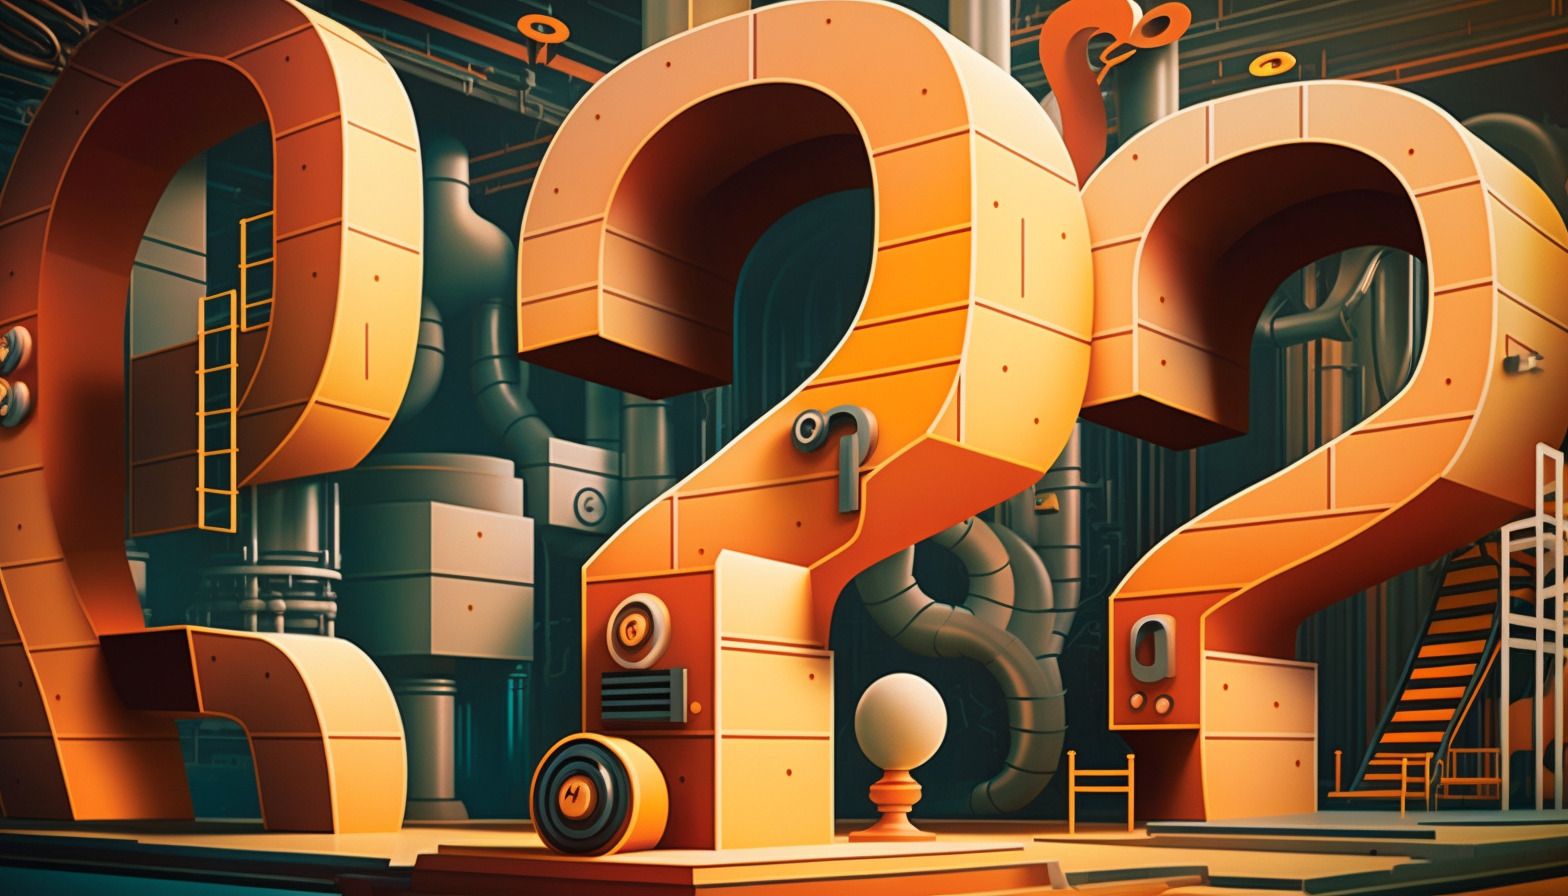
Clearly, this isn’t something Midjourney can figure out based on the prompts I’m giving it. So, in this case, I return to the previous round and look at the second image I liked: number 4 (bottom-right corner). For this one, I’m going to upscale it by hitting the U4 button. This will create a single, higher-quality image based on the existing preview.
Experimentation
Now, the image is fully rendered. I can use the Make Variations button to change things (colors, etc.) and the Upscale Redo buttons to rerender the image at an even higher quality. The Light version only slightly tweaks the existing image, while the Beta option can get a little wonky. I’ll hit the Beta option to see what happens for this demonstration.

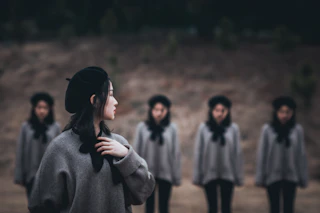
In this case, it just smoothed everything out. The ladder on the left is now proportional. This time, I’ve got another new button called Remaster. This, again, runs the image through another set of processes and can render drastically different results. For the demonstration, let’s see what happens.
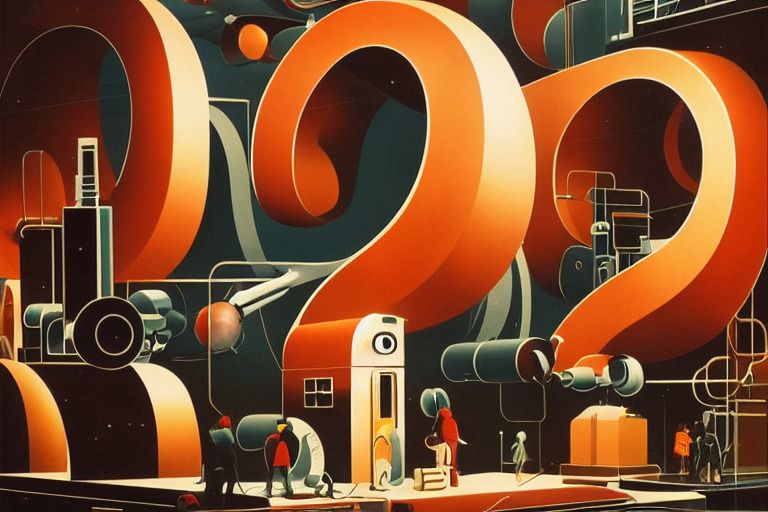
As you can see, it went in a drastically different direction. This time there are little workers around the machines. I also have upscale and variation buttons for this image. I’m curious what happens when we ask for an Upscale.

Conclusion
As you can see, it’s an iterative process. That’s why I don’t typically do it in public. But, hopefully, you find this helpful (or at least interesting). If you want a different example, let me know. Midjourney tends to do better with more concrete examples (like the one used for this article) or when it renders people’s faces.
Related Reads

AI Is Not an All or Nothing Choice
This Just In: AI use isn't a moral binary. There's a practical middle path for writers.

Unchecked Writing
This Just In: I stopped using Grammarly; have you noticed? Plus, a deeper exploration into AI writing and my friend the em dash.

Want to Write a Novel in November?
This Just In: NaNoWriMo may be dead, but writers have two new options to help hit those writing goals.

Is AI Really All That Bad?
This Just In: Here comes a potentially controversial opinion.

AI Exposes the Deeper Rifts in the Writing Industry
This Just In: Monetization turns passions into sweatshops and AI is making it worse.

AI Killed NaNoWriMo
This Just In: The writing month challenge may be dead, but there’s a new option to keep writers going.

A Few More Thoughts on Copyright
This Just In: The history of copyright might be fraught, but it exposes a bigger issue when creating online.

Copyright in the Age of AI
This Just In: What does copyright do and does it even matter anymore?

Is Reading Dying
This Just In: AI summaries and the pivot to video are bad news for the written word.
Are Apple’s Writing Tools the Right Stuff
This Just In: Apple Intelligence offers the boring version of AI I’ve hoped for, but is it helpful for writers?

Hitting the Reset Button
LLM scraping is a virus eating up the internet, but I’m done fighting. Instead, I choose open access and human connection.

Is Generative AI Destroying the Open Web
Subscription walls prevent AI scraping, but at what cost? I’m rethinking my whole publishing strategy.
Is Apple Intelligence the AI for the Rest of Us
This Just In: Apple’s forthcoming entry into AI promises a private, personalized AI, but will it increase AI slop?

Generative AI in Creativity
The reader survey results have some interesting things to say about generative AI and creativity. Here’s why that’s a problem.

What Is Your Freelance Writing Rate
Writing jobs are evaporating for many reasons, but freelance rates were really bad long before AI came around.

Can We Find a Balance With AI?
The dichotomy of AI continues to baffle me as I see the good and the bad. Where do we draw the line, and how do we learn to live with this technology?

Don’t Feed the AI Beast
This Just In: Justin’s writing requires a subscription to prevent AI abuse; consider your own precautions.

An Update on Spam Submissions
This Week In Writing, we talk about spam submissions to The Writing Cooperative and look at some of your thoughts on being called AI.

Would You Want to Know if I Thought Your Writing Sounded Like AI
This Week In Writing, we talk about submissions to The Writing Cooperative and how to avoid false accusations.
Saving Frequently Isn’t The Only Way To Backup Your Writing
This Week In Writing, we take a hard lesson from the latest Twitter/X hijinks. Plus, we look at what “human writing” means.
MIT Says ChatGPT Improves Bad Writing, But At What Cost?
This Week In Writing, we explore how ChatGPT and Grammarly are making us all sound the same.
AI Is Now Everywhere
This Week In Writing, we talk about Google’s new AI plan, what it means for writers, and why resistance is futile.
The Problem With Creative Entitlement
This Week In Writing, we explore how AI tools amplify the sometimes problematic relationship between creator and consumer

ChatGPT, the Writer’s Strike, and the Future of Content Writing
This Week In Writing, we explore a middle-of-the-road approach to ChatGPT and the future of writing
How I Use Midjourney to Create Featured Images for Articles
Generating unique and interesting featured images, you only need a Discord account and a little patience. Here’s how I use the tool.

AI Is Coming for Content Creators
This Week In Writing, we look at how AI is changing the content landscape and why that might be a good thing.
What Biases Do You Bring to Your Projects
This Week In Writing, we explore biases in our creative pursuits and how those biases can translate to AI-generated content.
Success Comes to Those Who Work for It (Usually)
This Week In Writing, we talk about success and perseverance through the lens of Simu Liu’s memoir. Oh, and AI writing, too.
Give Thanks to Our AI Overlords
This Week In Writing, we celebrate Thanksgiving and dive into the ever-improving AI-generated content.
This Just In: the Robots Are Coming for You
This Week In Writing, we take a quick break from our regularly scheduled programming to encourage you to vote.

Are Robots Taking Your Job?
📝 This Week’s Goal: Focus on your own writing instead of the robot uprising
Creative Burnout and Why I’m Pausing The Writing Cooperative After 12 Years
Alysa Liu's story is relatable and the timing is impeccable.
What Bad Bunny Gets That NBC Doesn’t
This Just In: NBC hosted the Olympics, the Super Bowl, and Bad Bunny’s halftime show on the same night, so why was their messaging so poor?
AI Is Not an All or Nothing Choice
This Just In: AI use isn't a moral binary. There's a practical middle path for writers.

It’s the End of the Year as We Know It (and I Feel Tired)
This Just In: It’s time to look back at the year that was and set up some hopes and dreams for the year to come, or something like that.
Unchecked Writing
This Just In: I stopped using Grammarly; have you noticed? Plus, a deeper exploration into AI writing and my friend the em dash.

It’s Not All About the Benjamins
This Just In: Yet one more thing that Diddy was wrong about.
Want to Write a Novel in November?
This Just In: NaNoWriMo may be dead, but writers have two new options to help hit those writing goals.

Answers to a Few Questions
This Just In: There were fewer questions than I anticipated, but I will answer them nonetheless.

What Questions Do You Have
This Just In: I won’t be participating in Medium Day this year, but I still want to keep the spirit alive. Ask me anything.
What I Did Different With This Book
This Just In: Launching a second edition wasn’t as simple as I thought it’d be, and I learned some lessons along the way.
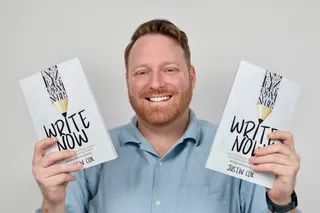
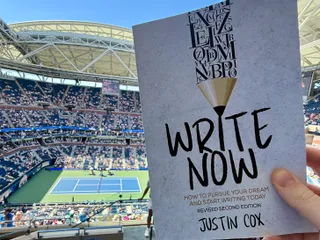
Introducing Write Now’s Revised Second Edition!
This Just In: You can now access everything I’ve learned writing online over the last two-plus decades. Are you ready for it?

Let’s Talk About Tools
This Just In: There’s no single tool that can do everything and it’s extremely frustrating.

Battle of the Book Builders
This Just In: I tried to format my book using Vellum and Atticus. Instead, I learned something about app design and limitations.

Does My Journal Need a Backup
This Just In: I took a lot of your suggestions to heart and gave Obsidian a try. What I found was a bigger question.

Journals Aren’t Forever
This Just In: After over 13 years, I’ve deleted the Day One journal app. Here’s what it helped me realize about software subscriptions.
AI Exposes the Deeper Rifts in the Writing Industry
This Just In: Monetization turns passions into sweatshops and AI is making it worse.
AI Killed NaNoWriMo
This Just In: The writing month challenge may be dead, but there’s a new option to keep writers going.
A Few More Thoughts on Copyright
This Just In: The history of copyright might be fraught, but it exposes a bigger issue when creating online.
Copyright in the Age of AI
This Just In: What does copyright do and does it even matter anymore?

The Forthcoming First Amendment Fight
This Just In: So-called defenders of free speech are taking office, and we’re all in trouble. Plus, more predictions for 2025.
Is Reading Dying
This Just In: AI summaries and the pivot to video are bad news for the written word.
Are Apple’s Writing Tools the Right Stuff
This Just In: Apple Intelligence offers the boring version of AI I’ve hoped for, but is it helpful for writers?
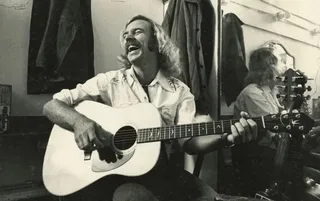
This One’s for the Fans
This Just In: Jimmy Buffet gets the due he deserves and shows what creative passion is all about.

When Creating Stops Being Fun
This Just In: knowing when (and how) to hit delete is important for every creator’s sanity.
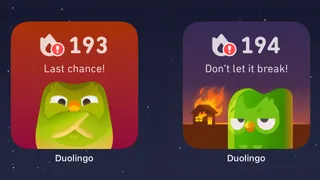
When Gamification Goes Awry
Writing days, health rings, Duolingo… there are more streaks than time.
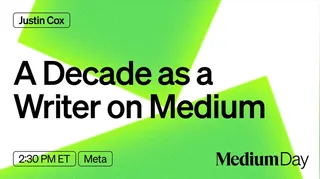
Medium Day 2024: Questions I Didn't Have Time to Answer
A collection of all the questions I didn’t have time for during my 30-minute Medium Day presentation.

Our Words Are Our Legacy
Creativity is a clash between individualism and our connection to history.
Fandom Is Being Ruined by "Fans"
How review-bombing and constant, unfounded criticism takes agency away from creators

When Art Inspires Life
The magic of writing, travel, and movies about Japan.

Maybe I’m Bad at Social Media
Social media “growth” requires giving in to quantity over quality. I don’t play that game.

Chase Your Dreams and See What Happens
This Just In: Mental health is a massive part of confidence and success. Dreams are inspiration. Use them.
Generative AI in Creativity
The reader survey results have some interesting things to say about generative AI and creativity. Here’s why that’s a problem.

Why Criticize When You Can Celebrate?
The attention economy destroyed our ability to dream for the sake of page views. It’s time we refocus our attention.

Write Like Taylor Swift
Embrace life’s many eras and stop trying to be a one-dimensional writer.

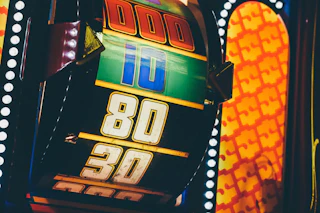
Metrics Don’t Matter
Have we become so accustomed to seeing metrics everywhere that they no longer mean anything?
Celebrating a Decade on Medium
Looking back at the past ten years of writing on Medium and what comes next.

Creation and Destruction Are Connected
This Just In: The act of creating something is more important than the act of publishing what is made.

Don’t Take My Word for It
This Just In: Personalized recommendations are the new algorithms and the best way to build a true audience.

Why Is Branding So Difficult?
This Just In: This Week In Writing rebrands; still explores the world with creativity and curiosity.
Why Make Anything if You Don’t Think It Will Be Great?
This Week In Writing, we discuss greatness and how chasing it is a possible and noble goal.

Let's Make the Internet Personal Again
This Week In Writing, we look at the once-in-a-generation opportunity to create a new internet filled with fun and originality.

Advent, Waiting, and the Year of Transitions
This Week In Writing, we look back at the year that was and determine what it means for the year to come.

Refilling the Creativity Tank
This Week In Writing, we discuss what happens when creativity finds other outlets.

Trick or Treat?
This Week In Writing, we talk about pen names and whether they make sense for writers.

A New Era Begins
This Week In Writing, we explore the internet’s current metamorphosis and how you can be part of the revolution.
My History of Blogging
This Week In Writing, we celebrate the blog, explore the pendulum of online writing, and double down on quality.

How I Feel About Engagement Numbers
This Week In Writing, we discuss what engagement means and if I get discouraged by a perceived lack thereof. Plus, a look at the future (again).

My Writing Is About Building Community
This Week In Writing, we highlight some of the people I’ve met writing online and answer some of your questions.
It’s Time for a Fresh Start
This Week In Writing, we talk about new Apple products, home renovations, and changes to the newsletter.
Choose Your Own Design
This Week In Writing, we explore the wonderful world of blogs, where writers truly get creative.
Expanding Universes Make Better Stories
This Week In Writing, we look at how worldbuilding is an essential part of epic storytelling.
Your Questions Answered
This Week In Writing, we recap a successful Medium Day and address some of the questions I didn’t have time to answer.
Saving Frequently Isn’t The Only Way To Backup Your Writing
This Week In Writing, we take a hard lesson from the latest Twitter/X hijinks. Plus, we look at what “human writing” means.
MIT Says ChatGPT Improves Bad Writing, But At What Cost?
This Week In Writing, we explore how ChatGPT and Grammarly are making us all sound the same.
Do CTAs Even Work Anymore?
This Week In Writing, we explore the “necessary evil” of calls to action and ask if they are any better than tacky banner ads.

My Ghostly Strategy: Avoid the Graveyard
This Week In Writing, we fully explore how I’m building Ghost into a self-hosted content hub and how you can too.

This Just in Comes Home
Welcome to the first issue of This Just In completely managed from my website!

How Do You End Things Well
Succession and Ted Lasso ended last week. Both had a distinct impact on culture and were met with intense anticipation despite relatively small audiences. Don't worry, there aren't any real spoilers in this article. I enjoyed both endings for different reasons. Succession brought a sense of

My Return to Journaling Failed Miserably
This Week In Writing, we talk about good intentions, rumored Apple products, and buying domain names
Let's Talk About Numbers
This Week In Writing, we talk about the importance of metrics and why I barely pay attention to mine.
ChatGPT, the Writer’s Strike, and the Future of Content Writing
This Week In Writing, we explore a middle-of-the-road approach to ChatGPT and the future of writing

BlueSky, Mastodon, and Notes; Oh, My!
This Week In Writing, we talk about all the “Twitter Alternatives” and what makes the most sense for writers.

On Tennis and Writing Breaks
This Week In Writing, I discuss my prolonged break from daily writing and follow up on last week’s Substack article.
Stop Creating Quantity and Start Creating Quality
This Week In Writing, we discuss Medium’s new Boost program and why the vast majority of submissions lately have been atrocious.
How I Use Midjourney to Create Featured Images for Articles
Generating unique and interesting featured images, you only need a Discord account and a little patience. Here’s how I use the tool.

You Have Questions, I May Have Answers
This Week In Writing, we celebrate International Question Day by listening to Selena Gomez. What does that have in common? Keep reading!
AI Is Coming for Content Creators
This Week In Writing, we look at how AI is changing the content landscape and why that might be a good thing.

The Era of Centralized Platforms Is Over
This Week In Writing, we discuss whether you should still own a website if you publish on Medium or Substack.

How Will History Remember Your Writing?
This Week In Writing, we talk about the magic found in old books
How I Come Up With Writing Topics
This Week In Writing, we explore topic generation while celebrating the best damn band in the land!
Introducing My Writing Community!
A new way to connect with writers, discuss your interests, and receive feedback on your creative endeavors.
Are You Begging for Eyes in the Attention Economy
This Week In Writing, we explore the internet’s move away from the attention economy and how writers can make the web more personal
Use Better Words to Be More Inclusive
This Week In Writing, we talk about words to avoid in 2023, a special offer from a friend, and Medium joining Mastodon
What Biases Do You Bring to Your Projects
This Week In Writing, we explore biases in our creative pursuits and how those biases can translate to AI-generated content.
Welcome to 2023. Now Take A Nap.
This Week In Writing, we kick off a new year with a chat about goals, self-care, and naps.

I Created a New Language in 5th Grade
This Week In Writing, we explore our digital legacies, discuss permanence, and close out the year with something new.
What’s the Last Book You Read
https://writingcooperative.com/whats-the-last-book-you-read-5265b44e180e
Success Comes to Those Who Work for It (Usually)
This Week In Writing, we talk about success and perseverance through the lens of Simu Liu’s memoir. Oh, and AI writing, too.

Would You Burn Your Entire Archive
This Week In Writing, we contemplate throwing out our leftovers and slimming down our digital presence.
Give Thanks to Our AI Overlords
This Week In Writing, we celebrate Thanksgiving and dive into the ever-improving AI-generated content.

Do You Procrastawrite
This Week In Writing, we talk about procrastination and everything we do instead of writing.

Let’s Talk About Money
This Week In Writing, we talk about earning money as a writer online and check in on NaNoWriMo.
Happy Author’s Day
This Week In Writing, we kick off NaNoWriMo by celebrating all the author’s out there, whether published or not.
You’re Invited
This Week In Writing, we prepare for NaNoWriMo with a special invitation, but first, we talk about She-Hulk!

Get Ready for NaNoWriMo
This Week In Writing, we prepare for National Novel Writing Month (NaNoWriMo) with encouragement and a special offer.
How Do You Deliver Joy
This Week In Writing, we discuss how to find your joy and how to spread joy to others.
Let’s Taco ‘Bout Giving the Reader More
This Week In Writing, we celebrate National Taco Day by discussing ways to hook the reader and give them more to chew on.

Stop Making Excuses and Write
This Week In Writing, we explore excuses we use to avoid writing and discuss methods to get out of our own way.

Did You Hug Your Boss Today?
This Week In Writing, we explore inappropriate workplace dynamics and how that applies to writers.

How Do You Fight Procrastination?
This Week In Writing, we explore the bane of most writers’ existence: procrastination. And, yes, it’s different from Writer’s Block.

This Just In: Thank You, Subscribers
I don’t know who you are, but I’m grateful for your support, and I hope you enjoy all the things you read.
What Word Makes You Cringe?
This Week In Writing, we talk about cringe-worthy words and give a nod to puns, courtesy of Letterkenny.

This Is a Bit Revealing
This Week In Writing, I reveal my inner nerd by sharing a personal project. Plus, we look at character creation.

The Stats I Track
This Week In Writing, we explore which stats are necessary to track and which are safe to ignore.
Eat Your Words is This Just In (Again)
Reboots are in now, right?
Do You Color Outside the Lines?
This Week In Writing, we explore taking our writing to places the reader doesn’t expect, like in the film Everything Everywhere All At Once.

Writing Is Exploring The Unknown
This Week In Writing, we explore all-or-nothing thinking and learn how to live in the unknown within our work and ourselves.

Write Now is My Tribe of Mentors
What I learned from Tim Ferriss’ Tribe of Mentors and my answers to his 11 great questions.

When Writing Gets Controversial
This Week In Writing, we explore the controversial origins of the bikini and how our writing can stoke controversy of its own.

Make Your Writing Space More Comfortable
This Month In Writing, we explore simple ways to improve your writing space and the best advice published in June.